How to use Zapier with our API
Use the Postscript Zapier app instead!We now have an official Postscript Zapier app! You can get it on Zapier here.
This guide walks you through how you can use Zapier with our API to collect subscribers. This guide is intended for Shops looking to use Zapier to connect other apps to Postscript where we don't yet have an integration.
For this example, we'll look at how to add subscribers from Mailchimp into Postscript.
Get your Postscript API Key
First, you’ll need to obtain your Postscript API Key.
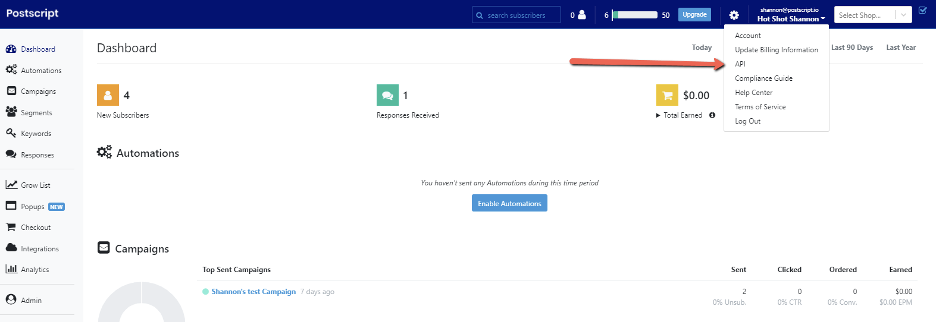
Navigate to your Postscript account, click on your name in the top-right corner, and choose API.

If you haven't already created an API key pair, click the button Create Security Key Pair to generate one.

Once you've got an API key pair, copy your Private Key and save it somewhere handy, you'll need it again later.

Next, you’ll need to create a keyword in Postscript.
Create a Keyword in Postscript
Now you'll need to create a keyword and keyword reply within Postscript so that you have a way for users to opt into your subscriber list. When you installed Postscript, you were given two default keywords that you can use if you want, or instructions here will show you how to create a custom keyword. Remember, custom keywords are not available on the free tier.
- First, click Keywords on the left.
- Next, click Create Keyword, found at the top right of the screen.
- Name your keyword, decide if you will include a coupon in the reply, and save.
- If you want to edit the reply, click the purple Reply box or to create an automatic reply to this keyword, click Add Action and then create your reply. The Keyword Reply that you create is the text they'll immediately receive upon subscribing.
With your API Key and Keyword, you're now ready to set things up in Zapier.
Create a Zap
For your zap, you’ll need the following information:
URL | |
Payload Type | json |
Data | |
keyword | |
subscribers | |
Headers | |
Authorization |
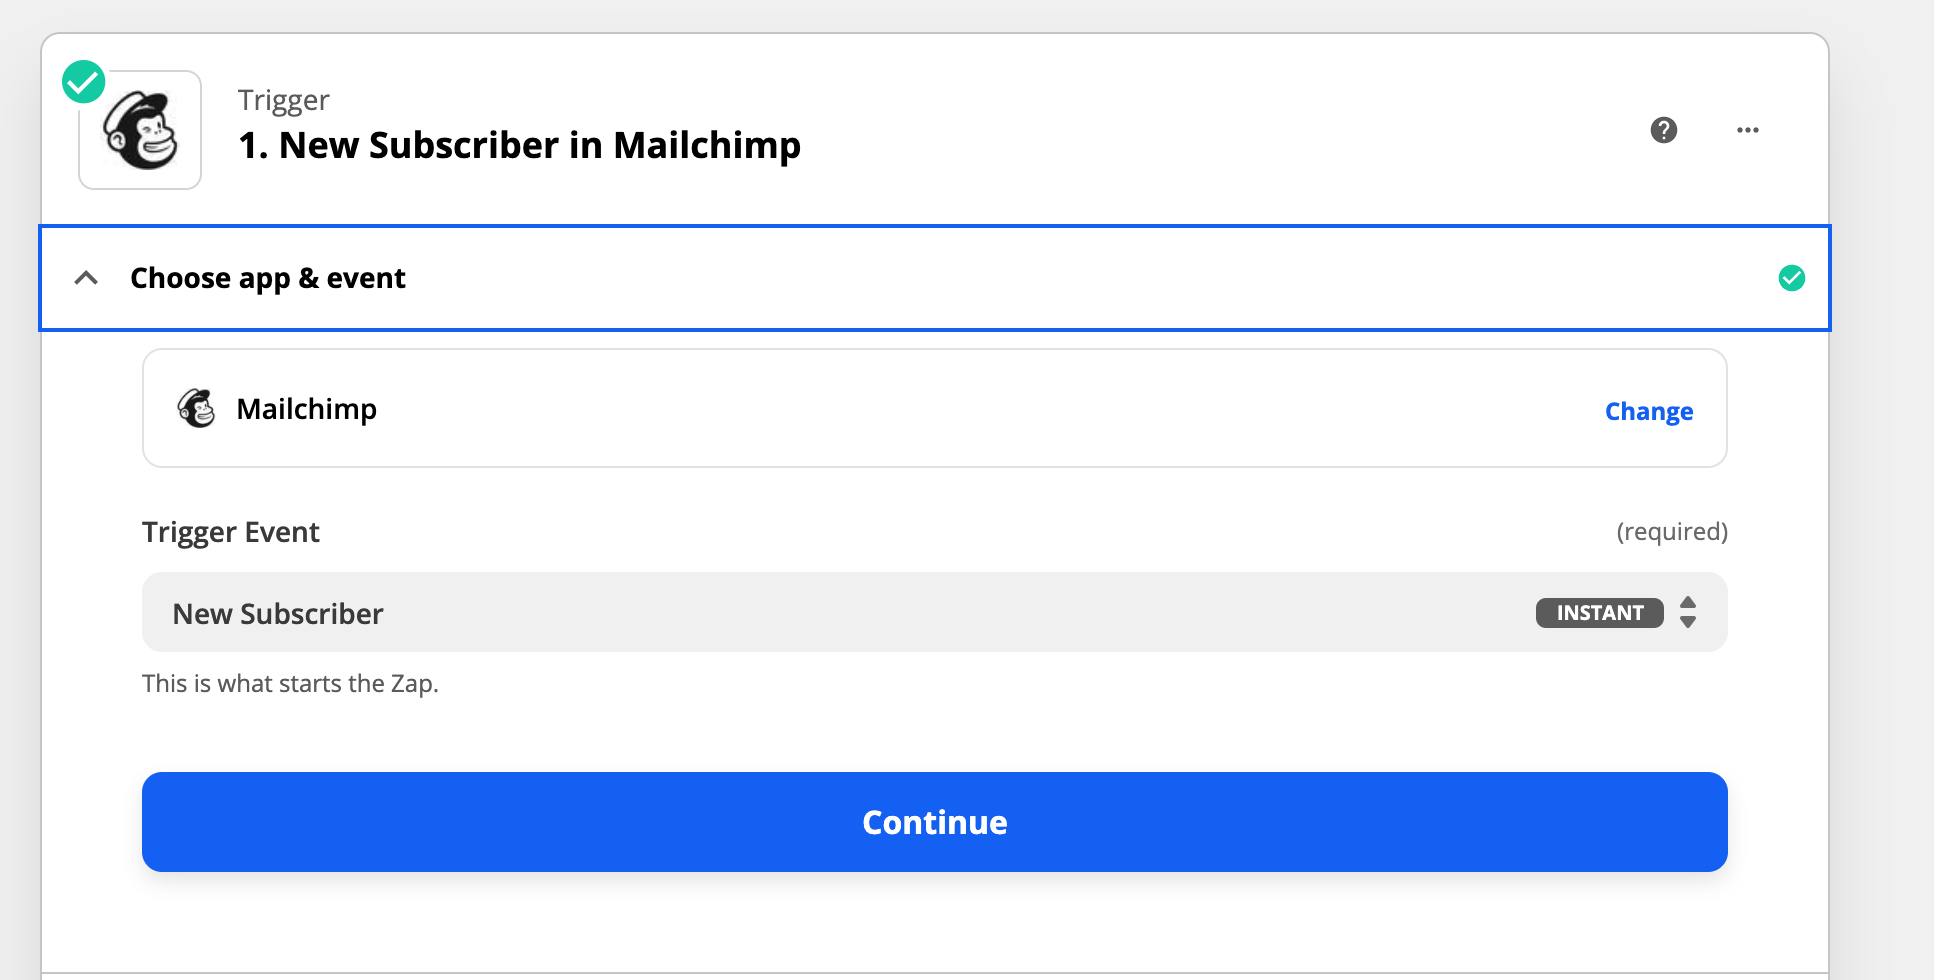
- When creating a new Zap, you first select the event (in this case, a new Mailchimp subscriber) and connect Zapier to the app.

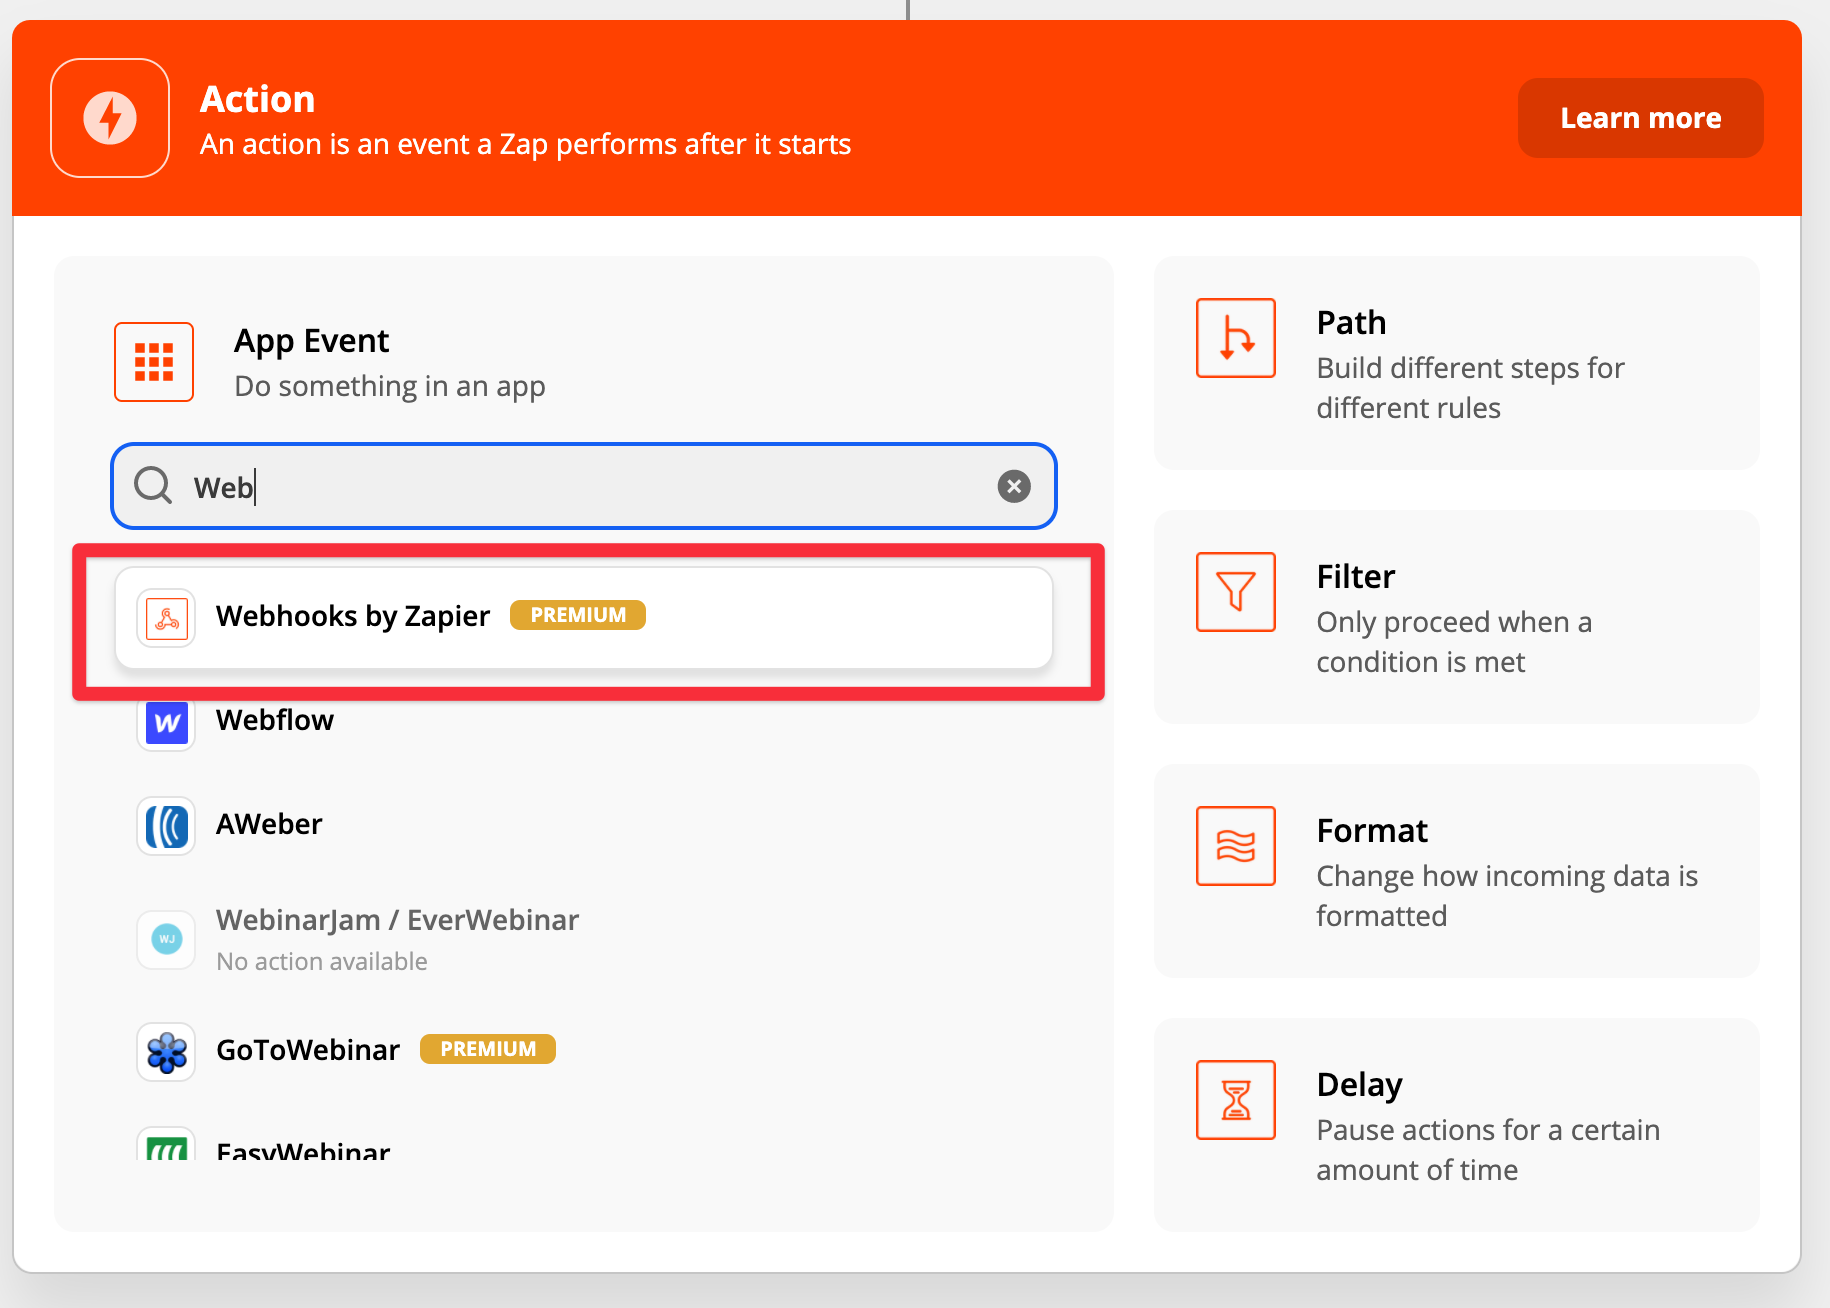
- In the next step, search for Webhooks, and select Webhooks by Zapier

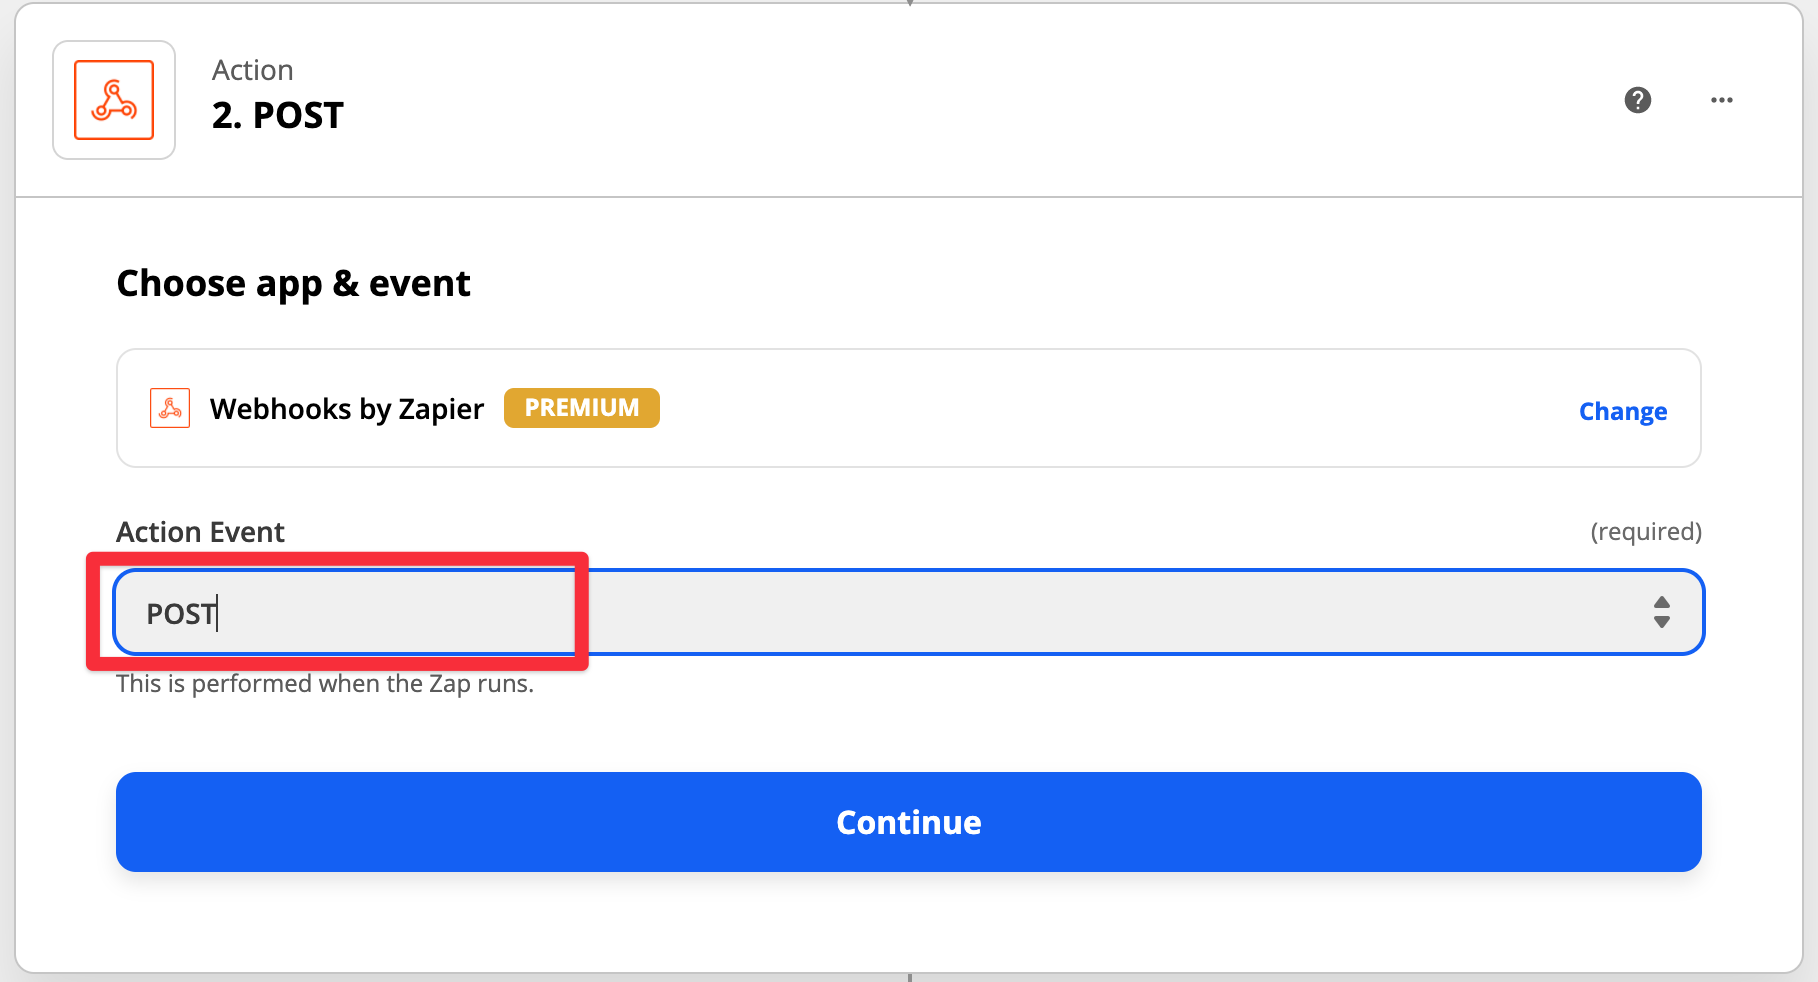
- Select POST as the action.

-
Add the data from above as shown.
-
Add Headers

- Once you've completed all of Steps test your Zap to make sure that it is a success. Turn on the Zap, and submit a test lead before pushing live to ensure that subscribers are being passed through.
Update Your FormIn order for you to stay compliant when signing up new subscribers, you’ll want to make sure your form has the following language:
<<compliance_language>>subscribers using Postscript + Zapier!
TroubleshootingIf, when setting up the e
For more information on compliance, see our guide here.
And with that, you’re ready to start collecting subscribers using Postscript + Zapier!
Troubleshooting
If, when setting up the event, you get a You do not have permission to do that error, please ensure you have "Bearer " (with a space after it) before your private API key. It should be “Bearer” capitalized, no colon, and a space before the token.
Updated 5 months ago
